

-
Welcome to Tacoma World!
You are currently viewing as a guest! To get full-access, you need to register for a FREE account.
As a registered member, you’ll be able to:- Participate in all Tacoma discussion topics
- Communicate privately with other Tacoma owners from around the world
- Post your own photos in our Members Gallery
- Access all special features of the site
 Secret Santa Gift Ideas
 Best binoculars on a budget?
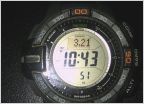 Outdoor Watch
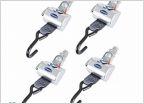 Are there any ratchet straps that don't suck?
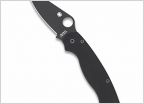 Good inexpensive knives
 Random Cool websites/things on websites
Damn load bearing wall.. WWJD.
Discussion in 'Off-Topic Discussion' started by 916carl, Aug 4, 2022.
Page 2 of 2
Page 2 of 2


