

-
Welcome to Tacoma World!
You are currently viewing as a guest! To get full-access, you need to register for a FREE account.
As a registered member, you’ll be able to:- Participate in all Tacoma discussion topics
- Communicate privately with other Tacoma owners from around the world
- Post your own photos in our Members Gallery
- Access all special features of the site
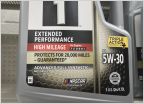 Mobil 1 Synthetic High Mileage vs Extended Performance
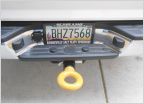 Protecting your rear
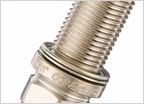 2006 Tacoma ignition coil problem-condensation in oil cap
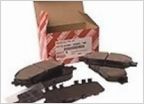 $261 for brake pads and rotors question
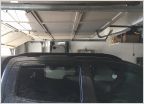 ARB Roof Rack on 2010 Dclb Sport 4x4
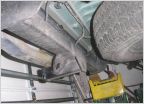 Trailer hitch
My mild Tacoma build and why I don't have money to buy you dinner; by rnish
Discussion in '2nd Gen. Tacomas (2005-2015)' started by rnish, Mar 26, 2018.
Page 4 of 4
Page 4 of 4


