

-
Welcome to Tacoma World!
You are currently viewing as a guest! To get full-access, you need to register for a FREE account.
As a registered member, you’ll be able to:- Participate in all Tacoma discussion topics
- Communicate privately with other Tacoma owners from around the world
- Post your own photos in our Members Gallery
- Access all special features of the site
 Net Hold Down Question
 Cap / shell / topper rear window defroster
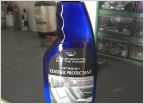 Best protectant for factory tonneau cover
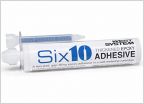 Suggestions on sealing holes in Leer cap
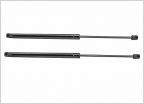 Leer 100xr - strut replacements
Leaky Leer 100xr and those pesky bedside corners
Discussion in 'Tonneau Covers, Caps and Shells' started by HeyB, Sep 26, 2022.


