

-
Welcome to Tacoma World!
You are currently viewing as a guest! To get full-access, you need to register for a FREE account.
As a registered member, you’ll be able to:- Participate in all Tacoma discussion topics
- Communicate privately with other Tacoma owners from around the world
- Post your own photos in our Members Gallery
- Access all special features of the site
 2006 Electrical Issues?
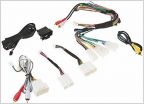 2nd Gen DBL Cab Speaker System Recommendations.
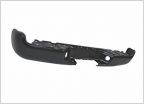 Blacked out replacement rear bumper
 Gen 2 6 sp manual regearing
 New brake drums on old shoes
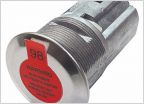 Question on "code-able": tailgate handle 00016-35044
Can anyone shed more light on the various components on the back of the headlamp assembly?
Discussion in '2nd Gen. Tacomas (2005-2015)' started by chockomonkey, Aug 18, 2023.

