-
Welcome to Tacoma World!
You are currently viewing as a guest! To get full-access, you need to register for a FREE account.
As a registered member, you’ll be able to:- Participate in all Tacoma discussion topics
- Communicate privately with other Tacoma owners from around the world
- Post your own photos in our Members Gallery
- Access all special features of the site
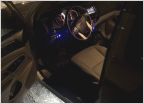 Tacoma Puddle lighting - $30 and a half hour of time - driver and passenger side
 PIAA bulbs?
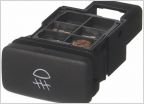 Anzo USA LED Truck Bed Lights install
 Matt Gecko's under hood LED lighting ket - hood switch install
 Best light bar?
 2019 OR, XD LEDs not working
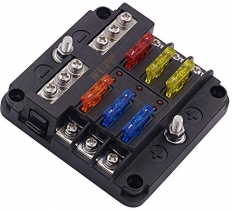
Show off your aux fuse panels.
Discussion in 'Lighting' started by Newlife, Dec 29, 2013.
Page 89 of 95
Page 89 of 95
Products Discussed in