

-
Welcome to Tacoma World!
You are currently viewing as a guest! To get full-access, you need to register for a FREE account.
As a registered member, you’ll be able to:- Participate in all Tacoma discussion topics
- Communicate privately with other Tacoma owners from around the world
- Post your own photos in our Members Gallery
- Access all special features of the site
Quick Links: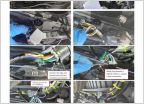 Tailgate light bar
  Front License Plate Removal
 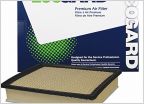 Is this a engine air filter anyone has used? Any disposable air filter recommendations in general?
 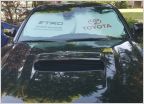 Sun Shade for 3rd Gen
  2022 Extended Brake lines for Sport
 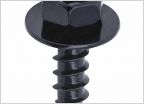 Looking for an Amazon (or other site) link for replacement fender flare/mudflap screws.
Clearing 35’s: bed trim and support bracket
Discussion in '3rd Gen. Tacomas (2016-2023)' started by Tcodyw88, Mar 13, 2024.


