

-
Welcome to Tacoma World!
You are currently viewing as a guest! To get full-access, you need to register for a FREE account.
As a registered member, you’ll be able to:- Participate in all Tacoma discussion topics
- Communicate privately with other Tacoma owners from around the world
- Post your own photos in our Members Gallery
- Access all special features of the site
 My two old Makita friends (9.6V and 7.2V Drills)
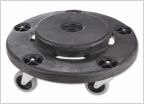 Tire storage racks?
 Snap ring plier/tips question
 Automated Dust Collection
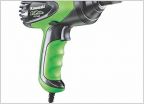 Recommend an electric impact wrench
 Impact sockets or not...
The Oh Crap, I acquired a non-titled, homebuilt trailer thread
Discussion in 'Garage / Workshop' started by soundman98, Jan 6, 2024.
Page 2 of 3
Page 2 of 3
Products Discussed in


