

-
Welcome to Tacoma World!
You are currently viewing as a guest! To get full-access, you need to register for a FREE account.
As a registered member, you’ll be able to:- Participate in all Tacoma discussion topics
- Communicate privately with other Tacoma owners from around the world
- Post your own photos in our Members Gallery
- Access all special features of the site
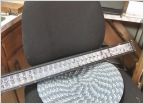 LED Lightbar Backlighting DIY
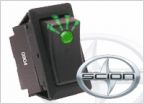 Switch
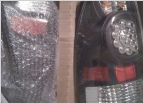 Just got these in the mail!
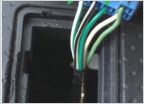 Adding junction to Rheostat for additional switches illumination. 2nd Gen
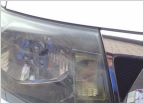 LED parking lights
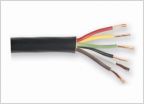 Multi conductor wiring for rooftop lighting...
Custom brake and chase lights
Discussion in 'Lighting' started by deanosaurus, Jun 1, 2024.


