

-
Welcome to Tacoma World!
You are currently viewing as a guest! To get full-access, you need to register for a FREE account.
As a registered member, you’ll be able to:- Participate in all Tacoma discussion topics
- Communicate privately with other Tacoma owners from around the world
- Post your own photos in our Members Gallery
- Access all special features of the site
 Which Floor Mats? (maybe the most boring thread ever)
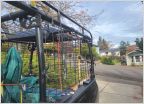 My bed security solution
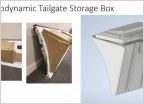 Aerodynamic Tailgate Storage Prototype
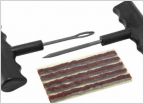 Tire repair - Anyone attempt this on their own
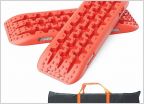 Traction board recomendations
 Cracks in brake pads, should I replace?
Painting a steel bumper: DIY write-up (with 1-year follow-up)
Discussion in 'General Tacoma Talk' started by GilbertOz, Jun 29, 2024.


