

-
Welcome to Tacoma World!
You are currently viewing as a guest! To get full-access, you need to register for a FREE account.
As a registered member, you’ll be able to:- Participate in all Tacoma discussion topics
- Communicate privately with other Tacoma owners from around the world
- Post your own photos in our Members Gallery
- Access all special features of the site
 Dorman carrier bearing
 LED lights for instrument cluster, AC controls, & interior
 LED Replacement Bulbs, Brake and Backup - Any experiences
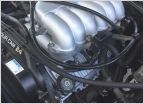 V6 Timing belt, what else?
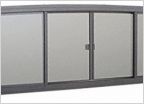 Anyone know where I can find a back window that isn’t $600?
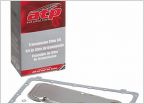 Automatic transmission filter kits
17" Electric Fan on 2.4liter Tacoma
Discussion in '1st Gen. Tacomas (1995-2004)' started by Mikerocosms, Mar 1, 2016.
Products Discussed in


