

-
Welcome to Tacoma World!
You are currently viewing as a guest! To get full-access, you need to register for a FREE account.
As a registered member, you’ll be able to:- Participate in all Tacoma discussion topics
- Communicate privately with other Tacoma owners from around the world
- Post your own photos in our Members Gallery
- Access all special features of the site
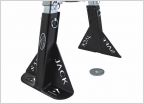 [Updated] Taller version of Safe Jack "RennStand" or discount code?
 JIS Screwdriver Set Recommendations
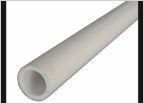 Shop/Garage Air - ABS Piping
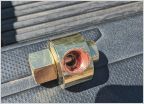 Air tools - rotary union
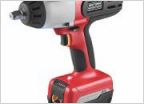 Craftsman 20V Cordless Impact Wrench is Bad Ass!
 Compressor Question
Electrical Component Repair: How would you fix this?
Discussion in 'Garage / Workshop' started by lastcall190, Dec 19, 2024.


