

-
Welcome to Tacoma World!
You are currently viewing as a guest! To get full-access, you need to register for a FREE account.
As a registered member, you’ll be able to:- Participate in all Tacoma discussion topics
- Communicate privately with other Tacoma owners from around the world
- Post your own photos in our Members Gallery
- Access all special features of the site
 Cost of repair, thoughts?
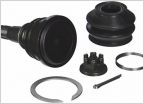
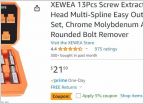 Stripped Front Diff Fill Plug
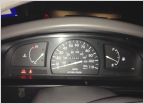 LED dash lights become dim / go out over time
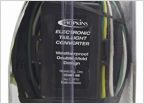 2001 Toyota Tacoma Trailer Wiring
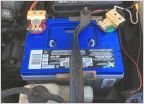 Battery
 First gen AC not blowing out cold…
Which tool? De-pinning dimmer connections
Discussion in '1st Gen. Tacomas (1995-2004)' started by foothill96tacoma, Feb 28, 2025.
Page 1 of 2
Page 1 of 2
Products Discussed in


