

-
Welcome to Tacoma World!
You are currently viewing as a guest! To get full-access, you need to register for a FREE account.
As a registered member, you’ll be able to:- Participate in all Tacoma discussion topics
- Communicate privately with other Tacoma owners from around the world
- Post your own photos in our Members Gallery
- Access all special features of the site
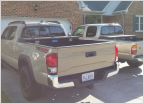 Tools every truck should have...
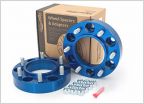 Spacers
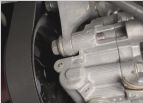 Chances of a timing cover leak on a 2022 sr5 3.5
 Fumoto valve install with RCI skid
 Portable Fridge Question
 Where is everyone mounting their front camera on PRO Grills WITH TSS?
3rd Gen Toyota Tacoma V6, how to replace Tensioner Pulley Bearings and Idlers #2 and Idler #1
Discussion in '3rd Gen. Tacomas (2016-2023)' started by Yo_traigo_una_tacoma, May 3, 2025.


