

-
Welcome to Tacoma World!
You are currently viewing as a guest! To get full-access, you need to register for a FREE account.
As a registered member, you’ll be able to:- Participate in all Tacoma discussion topics
- Communicate privately with other Tacoma owners from around the world
- Post your own photos in our Members Gallery
- Access all special features of the site
Quick Links: Need Simple Hands Free Bluetooth Solution 2008 Tacoma
 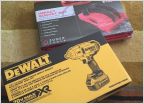 Advice Needed: New Metric Wrench Set In Anticipation of Work On 2nd Gen Tacoma
 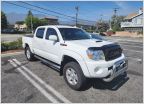 Looking to join the family! Opinions needed on a truck I am looking to buy!
 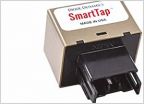 Parking/turn signal question
  (SOLVED) Driver's side window clips?
  Best shock absorbers for handling?
07 Dual Cab Long Bed Manual Swap
Discussion in '2nd Gen. Tacomas (2005-2015)' started by jhoes13, Apr 2, 2025.
Page 2 of 2
Page 2 of 2


