

-
Welcome to Tacoma World!
You are currently viewing as a guest! To get full-access, you need to register for a FREE account.
As a registered member, you’ll be able to:- Participate in all Tacoma discussion topics
- Communicate privately with other Tacoma owners from around the world
- Post your own photos in our Members Gallery
- Access all special features of the site
 Turning off the seat belt reminder on a 2015
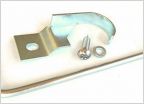 Gate Keeper tailgate protection
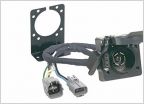 7 Pin Trailer Connector Kit?
 Need recommendation of heavy duty 2" ratcheting straps
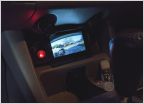 Backup camera and screens
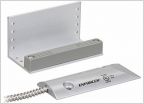 Drone Mobile by Compustar
Interior overhaul - murdered out (ongoing)
Discussion in '2nd Gen. Tacomas (2005-2015)' started by deanosaurus, Apr 11, 2023.
Page 2 of 2
Page 2 of 2


