

-
Welcome to Tacoma World!
You are currently viewing as a guest! To get full-access, you need to register for a FREE account.
As a registered member, you’ll be able to:- Participate in all Tacoma discussion topics
- Communicate privately with other Tacoma owners from around the world
- Post your own photos in our Members Gallery
- Access all special features of the site
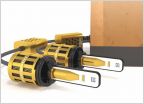 Morimoto 2Stroke 2.0 LED Bulbs: The New Benchmark
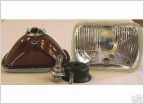 Best 7x6 headlight housing for Taco 97"?
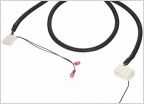 2013 4cyl Prerunnner w/ SR5
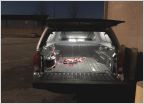 My Shell Interior Lighting Project
 Engine Bay LED Install
 Camp/work light setups! Show them off!
Roof Rack, Behind Grill, Bed, and Tool Box Lighting Write-up
Discussion in 'Lighting' started by Molon Labe, Oct 15, 2012.


