

-
Welcome to Tacoma World!
You are currently viewing as a guest! To get full-access, you need to register for a FREE account.
As a registered member, you’ll be able to:- Participate in all Tacoma discussion topics
- Communicate privately with other Tacoma owners from around the world
- Post your own photos in our Members Gallery
- Access all special features of the site
 2005 Tacoma 4 cylinders wont start
 Repairing a Separating Headliner
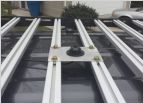 How would I go about making this CB mount for my Prinsu?
 Is there a good cheap way to weld aluminum?
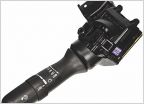 Non intermittent wipers
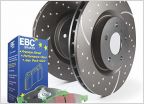 Rear Brakes
D.I.Y. write-up on replacing o2 Sensor on a Tacoma
Discussion in 'Technical Chat' started by techtalk, Jun 17, 2011.


