

-
Welcome to Tacoma World!
You are currently viewing as a guest! To get full-access, you need to register for a FREE account.
As a registered member, you’ll be able to:- Participate in all Tacoma discussion topics
- Communicate privately with other Tacoma owners from around the world
- Post your own photos in our Members Gallery
- Access all special features of the site
 Bilstein 4600 install, CV reboot and diff seal replacement
 Lift advice needed please
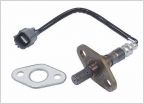 O2 sensor, front or rear?
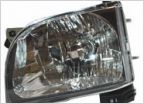 What kind of headlights?
 Help with Steering Pump in 2001 2.7L
 OEM-ish sounding muffler?
Attn Plate Bumper Owners, help getting mounted correctly
Discussion in '1st Gen. Tacomas (1995-2004)' started by tomtom, Dec 29, 2013.


