

-
Welcome to Tacoma World!
You are currently viewing as a guest! To get full-access, you need to register for a FREE account.
As a registered member, you’ll be able to:- Participate in all Tacoma discussion topics
- Communicate privately with other Tacoma owners from around the world
- Post your own photos in our Members Gallery
- Access all special features of the site
 What else is needed with Dakar leaf pack?
 Premature Rack Bushing Wear
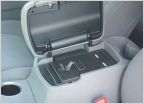 Hide or lock your hand gun
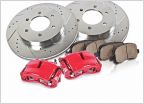 Tundra Brake Upgrade
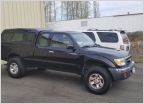
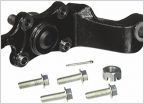 Front end refresh and all new suspension
Replacing Ball Joints
Discussion in '1st Gen. Tacomas (1995-2004)' started by NOLA ItsNotOva, Aug 10, 2014.


