

-
Welcome to Tacoma World!
You are currently viewing as a guest! To get full-access, you need to register for a FREE account.
As a registered member, you’ll be able to:- Participate in all Tacoma discussion topics
- Communicate privately with other Tacoma owners from around the world
- Post your own photos in our Members Gallery
- Access all special features of the site
 Well... I did a dumb dumb. Drained transmission fluid instead of oil..
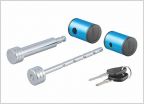 Tacoma Hitch and Coupler lock set
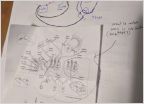 Warn Winch cab switch install question
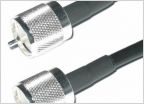 Firestik cable too short.
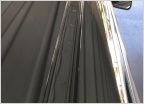 Roof Drip Molding... Necessary?
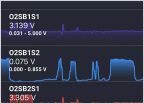 OBD Scanner O2 sensor questions (P0420)
$25 Plate Bumper Dress Up Mod
Discussion in '2nd Gen. Tacomas (2005-2015)' started by MSrebel, Sep 14, 2014.


