

-
Welcome to Tacoma World!
You are currently viewing as a guest! To get full-access, you need to register for a FREE account.
As a registered member, you’ll be able to:- Participate in all Tacoma discussion topics
- Communicate privately with other Tacoma owners from around the world
- Post your own photos in our Members Gallery
- Access all special features of the site
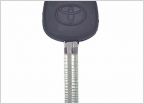 2012 Toyota Tacoma Transponder Key Needed
 Squeaking/Grinding Sound Starting in 1st 6MT
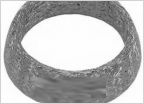 Will a Later 2nd Gen Exhaust Fit an Earlier 2nd Gen?
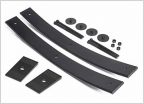 Heavy Metal Suspensions AAL
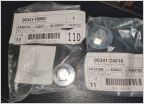 Transmission/transfer/differentials drain plugs
 Where can i buy a nice chrome exhaust tip for '15 TRD?
Auxiliary Engine Bay Fuse Block
Discussion in '2nd Gen. Tacomas (2005-2015)' started by ACEkraut, Nov 18, 2014.


