

-
Welcome to Tacoma World!
You are currently viewing as a guest! To get full-access, you need to register for a FREE account.
As a registered member, you’ll be able to:- Participate in all Tacoma discussion topics
- Communicate privately with other Tacoma owners from around the world
- Post your own photos in our Members Gallery
- Access all special features of the site
 Full fluid change questions (oil, transfer case, manual trans etc.)
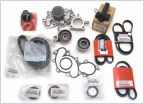 Timing belt vs. timing chain question
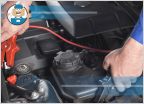 New Battery for the Tacoma
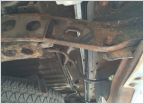 Recovery Points
 Offroad package or not? Suspension help
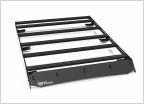 Any Good Roof Racks
3RZ oil leak behind crankshaft pulley...anyone?
Discussion in '1st Gen. Tacomas (1995-2004)' started by toypower, Mar 1, 2015.


