

-
Welcome to Tacoma World!
You are currently viewing as a guest! To get full-access, you need to register for a FREE account.
As a registered member, you’ll be able to:- Participate in all Tacoma discussion topics
- Communicate privately with other Tacoma owners from around the world
- Post your own photos in our Members Gallery
- Access all special features of the site
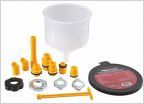 Can trapped air bubbles after a coolant flush, cause loss of power? [Solved but Unrelated]
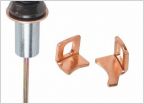 Starter motor intermittent failure, one more time please?
 What 02 Sensor....????
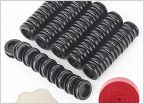 Rocker panel holes
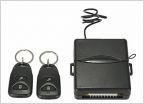 Help With Keyless Entry Install
 Toytec shock eye bushing
'00 Stock Front Bumper Cutoff Mod (HOW TO)
Discussion in '1st Gen. Tacomas (1995-2004)' started by FondlingVinyl, Jul 21, 2015.


