

-
Welcome to Tacoma World!
You are currently viewing as a guest! To get full-access, you need to register for a FREE account.
As a registered member, you’ll be able to:- Participate in all Tacoma discussion topics
- Communicate privately with other Tacoma owners from around the world
- Post your own photos in our Members Gallery
- Access all special features of the site
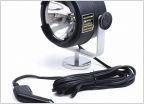 Rear spot lights
 4.0 liter 1GR-FE V6 4X4 TRD 6-Speed Manual Transmission 30K Service Checklist
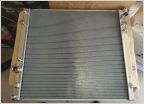 CSF All Aluminum Performance Radiator For our trucks FINALLY!!!
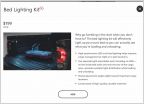 3rd Gen OEM Bed Lighting Kit on a 2nd Gen?
 U Joint Grease
2.7 Head Gasket job in progress.
Discussion in '2nd Gen. Tacomas (2005-2015)' started by Johnnyjtaco, Jul 29, 2024.


