-
Welcome to Tacoma World!
You are currently viewing as a guest! To get full-access, you need to register for a FREE account.
As a registered member, you’ll be able to:- Participate in all Tacoma discussion topics
- Communicate privately with other Tacoma owners from around the world
- Post your own photos in our Members Gallery
- Access all special features of the site
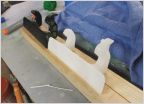 2003 Tacoma door handle
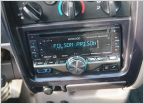 Stock Look Radio Face Plate?
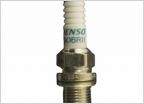 Iridium Spark Plugs and 120k Lifespan?
 2002 Pre-Runner Excab door handle
 A-pillar Scangauge III Mount
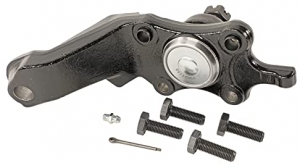
A "wa" "wa" wa" sound when turning left!!
Discussion in '1st Gen. Tacomas (1995-2004)' started by sikora8, Feb 15, 2010.
Page 2 of 2
Page 2 of 2