

-
Welcome to Tacoma World!
You are currently viewing as a guest! To get full-access, you need to register for a FREE account.
As a registered member, you’ll be able to:- Participate in all Tacoma discussion topics
- Communicate privately with other Tacoma owners from around the world
- Post your own photos in our Members Gallery
- Access all special features of the site
 Oil filter cap (?)
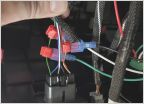 Fog Light Wiring help
 Rear Suspension
 What does everyone think about this? Pro grille garnish sales on ebay
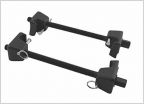 Coil compressor
Atl-atl's TRD Off Road Access Cab documentation thread
Discussion in '3rd Gen. Tacomas (2016-2023)' started by Atl-atl, Aug 18, 2018.
Page 8 of 8
Page 8 of 8


