

-
Welcome to Tacoma World!
You are currently viewing as a guest! To get full-access, you need to register for a FREE account.
As a registered member, you’ll be able to:- Participate in all Tacoma discussion topics
- Communicate privately with other Tacoma owners from around the world
- Post your own photos in our Members Gallery
- Access all special features of the site
 CarPlay up and running on my 2016 Tacoma
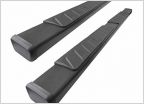 Need suggestions for tint, step and seat cover
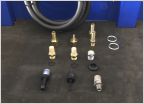 Differential breather mod for 2017 and 2018’s?
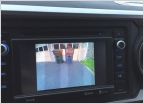 Front bumper camera?
 Show your rear chase lights
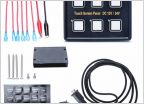 Switch Panels
Automatic Headlights / DEI 545t install
Discussion in '3rd Gen. Tacomas (2016-2023)' started by Pickupman2007, May 1, 2017.
Page 1 of 2
Page 1 of 2


