

-
Welcome to Tacoma World!
You are currently viewing as a guest! To get full-access, you need to register for a FREE account.
As a registered member, you’ll be able to:- Participate in all Tacoma discussion topics
- Communicate privately with other Tacoma owners from around the world
- Post your own photos in our Members Gallery
- Access all special features of the site
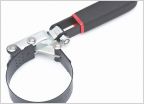 Oil Filter Wrench 2015 V6?
 Which fuse for the AC/heat controls?
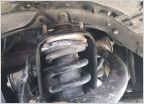 Old Man Emu Lift kit popping noise from Strut Mount
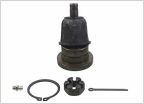 Jba or camburg ucas opions?
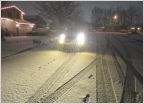 Fog Light question
 Clutch advise - 6sp, 2012, supercharger
Baja Roof Rack Write up (pics and info)
Discussion in '2nd Gen. Tacomas (2005-2015)' started by Molon Labe, Aug 18, 2012.
Page 5 of 7
Page 5 of 7
