

-
Welcome to Tacoma World!
You are currently viewing as a guest! To get full-access, you need to register for a FREE account.
As a registered member, you’ll be able to:- Participate in all Tacoma discussion topics
- Communicate privately with other Tacoma owners from around the world
- Post your own photos in our Members Gallery
- Access all special features of the site
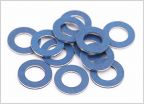 Crush washers need to be re-torqued
 Interior Seat Protection
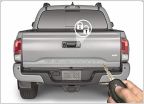 Automatic gate lock for ‘20
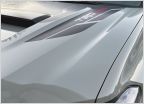 Xpel Ultimate Plus for my 2021 TRD PRO Lunar Rock with Gtechinq Cermaic coating
 Decked traction surface
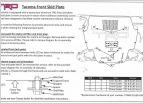 TRD PRO SKID
Bushwacker fenders scratching my paint
Discussion in '3rd Gen. Tacomas (2016-2023)' started by toyomaniac71, Sep 24, 2016.
Page 4 of 4
Page 4 of 4

