

-
Welcome to Tacoma World!
You are currently viewing as a guest! To get full-access, you need to register for a FREE account.
As a registered member, you’ll be able to:- Participate in all Tacoma discussion topics
- Communicate privately with other Tacoma owners from around the world
- Post your own photos in our Members Gallery
- Access all special features of the site
 Where is everyone ordering Bilstein suspension from?
 2022 TRD Sport 4x4 wheel question
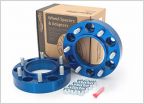 Spidertrax S2PWHS007 vs WHS007?
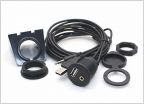 Adding Parallel USB / Aux Jack
 Plug and play seat heaters?
 Anything difficult regarding changing 2016 front/rear differential fluid?
CBI Covert Front Bumper
Discussion in '3rd Gen. Tacomas (2016-2023)' started by 20PRO, Jun 5, 2020.


