-
Welcome to Tacoma World!
You are currently viewing as a guest! To get full-access, you need to register for a FREE account.
As a registered member, you’ll be able to:- Participate in all Tacoma discussion topics
- Communicate privately with other Tacoma owners from around the world
- Post your own photos in our Members Gallery
- Access all special features of the site
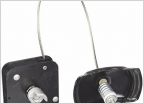 Cable for the spare snapped
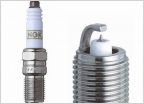 Best spark plugs for my 2012 tacoma
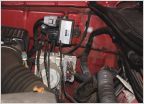 Brake actuator replacement
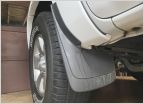 What mud flaps are these?
 Smog Check Hell!
 U Joint and Carrier Bearing
CH4x4 Dual switch - making it work with fog lights
Discussion in '2nd Gen. Tacomas (2005-2015)' started by agent4573, Oct 29, 2022.