

-
Welcome to Tacoma World!
You are currently viewing as a guest! To get full-access, you need to register for a FREE account.
As a registered member, you’ll be able to:- Participate in all Tacoma discussion topics
- Communicate privately with other Tacoma owners from around the world
- Post your own photos in our Members Gallery
- Access all special features of the site
 Right turn signal constant on tow connection
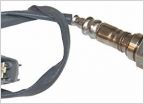 Oxygen Sensor Error Codes
 Want to replace ko2s
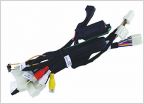 Anytime Front Camera??
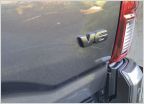 Polish burn?
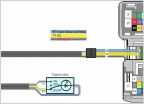 Topper Brake Light Tap with Meso Total Tail Stage 1
Clazzio rear seat, anyone re-use the plastic yet?
Discussion in '3rd Gen. Tacomas (2016-2023)' started by Disaster06, May 17, 2018.
Page 2 of 2
Page 2 of 2


