

-
Welcome to Tacoma World!
You are currently viewing as a guest! To get full-access, you need to register for a FREE account.
As a registered member, you’ll be able to:- Participate in all Tacoma discussion topics
- Communicate privately with other Tacoma owners from around the world
- Post your own photos in our Members Gallery
- Access all special features of the site
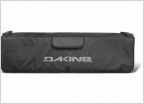 Best Surfboard Tie-down / Pickup Pad for 1st Gen?
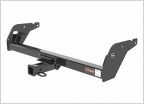 Tacoma hitch attachment
 Antenna replacement
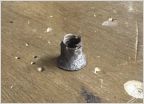 P0171/P0420 but Passed Emissions
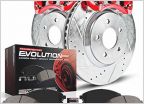 Best brand of brakes for Tundra brake upgrade
 Recommendations on headlight bulb replacement
Clutch Pedal Spring Bushing - Add On
Discussion in '1st Gen. Tacomas (1995-2004)' started by Hesso, Sep 4, 2025 at 11:03 AM.


