-
Welcome to Tacoma World!
You are currently viewing as a guest! To get full-access, you need to register for a FREE account.
As a registered member, you’ll be able to:- Participate in all Tacoma discussion topics
- Communicate privately with other Tacoma owners from around the world
- Post your own photos in our Members Gallery
- Access all special features of the site
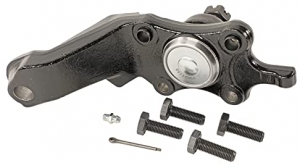
 Clutch Master Cylinder HELP
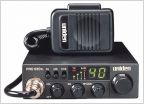 CB Radio purchase options?!?!
 Cigarette light bulb and ashtrey bulb size
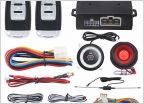 Push Start Ignition Button
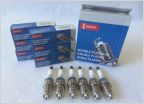 Iridium plugs in the 3.4L ???
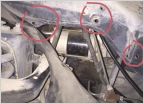 Wheel Well Inner Mud Shield/Flap Retaining Pins
Collision repair project (radiator core support etc) - 2000 Tacoma 2WD 2.4L
Discussion in '1st Gen. Tacomas (1995-2004)' started by aaqr18, Jul 7, 2024.