

-
Welcome to Tacoma World!
You are currently viewing as a guest! To get full-access, you need to register for a FREE account.
As a registered member, you’ll be able to:- Participate in all Tacoma discussion topics
- Communicate privately with other Tacoma owners from around the world
- Post your own photos in our Members Gallery
- Access all special features of the site
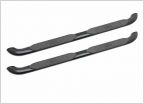 Powder coated nerf bars
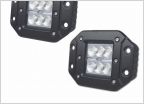 Another Bed Light Option?
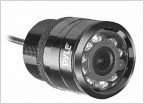 Aux backup light and under mount backup cameras?
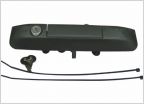 Where else can i find a pop n lock for an 09 in stock?
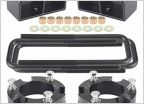 Leveling kit....
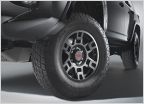 2014 4wd Tacoma with 3" lift.
DIY - How to Install a ToyTec Diff Drop (Pics)
Discussion in '2nd Gen. Tacomas (2005-2015)' started by Neubs, Sep 26, 2009.
Page 1 of 4
Page 1 of 4


