

-
Welcome to Tacoma World!
You are currently viewing as a guest! To get full-access, you need to register for a FREE account.
As a registered member, you’ll be able to:- Participate in all Tacoma discussion topics
- Communicate privately with other Tacoma owners from around the world
- Post your own photos in our Members Gallery
- Access all special features of the site
 Electric door locks and windows 2009 regular cab
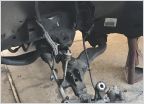 Low pro bump stops front
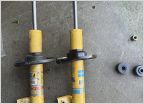 Bilstein 4600 Fronts part numbers
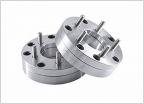 Lug conversion
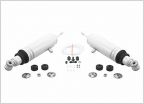 Installed 3" blocks and the ride is a bit harsh for me.
 Will these bilsteins work for lowering?
DJM 2nd Gen C-Notch Tips
Discussion in 'Street Trucks' started by rat107, Apr 15, 2015.


