

-
Welcome to Tacoma World!
You are currently viewing as a guest! To get full-access, you need to register for a FREE account.
As a registered member, you’ll be able to:- Participate in all Tacoma discussion topics
- Communicate privately with other Tacoma owners from around the world
- Post your own photos in our Members Gallery
- Access all special features of the site
 Insight / Advice - Towing 3,000 lb
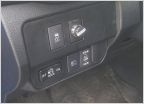
 Help Needed with 7 Pin Adaptor
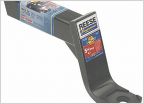 Receiver drop question
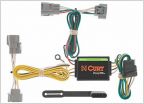 Trailer Light Convertor, What Brand Works.
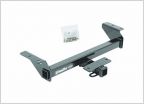 Draw-Tite 75238 Hitch for 3rd Gens - $41 on Amazon
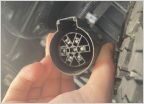 Factory to 4-pin trailer adapter
Enclosed / Toy hauler / RV / racebike hauler build
Discussion in 'Towing' started by Exracer2, Jun 2, 2018.
Page 1 of 3
Page 1 of 3


