
-
Welcome to Tacoma World!
You are currently viewing as a guest! To get full-access, you need to register for a FREE account.
As a registered member, you’ll be able to:- Participate in all Tacoma discussion topics
- Communicate privately with other Tacoma owners from around the world
- Post your own photos in our Members Gallery
- Access all special features of the site
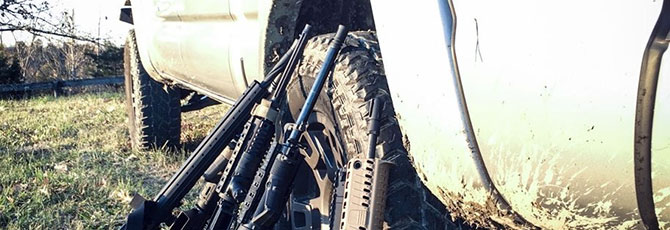
 Carrying a piece in your truck
 Did I do good? Ordered a SOG trigent knife
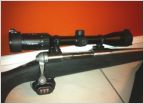 Scope Advice!
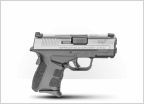
 Question and suggestions about hand guns
 Concealed carry
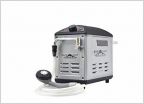 Tankless water heater for outdoor/overland use
Few holsters I built when I had some down time...
Discussion in 'Guns & Hunting' started by Mr.Gadget, Feb 25, 2014.


