

-
Welcome to Tacoma World!
You are currently viewing as a guest! To get full-access, you need to register for a FREE account.
As a registered member, you’ll be able to:- Participate in all Tacoma discussion topics
- Communicate privately with other Tacoma owners from around the world
- Post your own photos in our Members Gallery
- Access all special features of the site
 2001 Tacoma Radio Upgrade Question
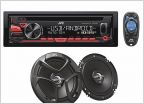 DVD/CD/Bluetooth for 97 tacoma
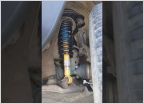 Suspension problem, many new OEM parts + video link
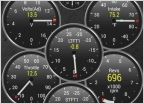 Bluetooth obd2
 New ujoints & carrier bearing install (grease ?)
First gen. steering wheel play
Discussion in '1st Gen. Tacomas (1995-2004)' started by rab89, Mar 20, 2010.
Page 3 of 4
Page 3 of 4


