

-
Welcome to Tacoma World!
You are currently viewing as a guest! To get full-access, you need to register for a FREE account.
As a registered member, you’ll be able to:- Participate in all Tacoma discussion topics
- Communicate privately with other Tacoma owners from around the world
- Post your own photos in our Members Gallery
- Access all special features of the site
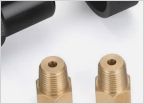 QQ Re: NPT size
 2002 Pre-Runner Excab door handle
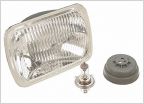 Headlights for '96 Tacoma
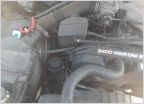 What is this hose coming from the intake
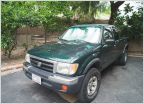 1999 Tacoma SR5 TRD Imperial Jade Build, Sweat and Tears
 Corner Light Pigtail?
Front bumper DIY Blueprints!!
Discussion in '1st Gen. Tacomas (1995-2004)' started by fouillard13, Dec 7, 2015.
Page 2 of 2
Page 2 of 2


