

-
Welcome to Tacoma World!
You are currently viewing as a guest! To get full-access, you need to register for a FREE account.
As a registered member, you’ll be able to:- Participate in all Tacoma discussion topics
- Communicate privately with other Tacoma owners from around the world
- Post your own photos in our Members Gallery
- Access all special features of the site
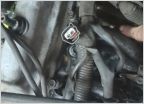 Radiator or bypass hose question
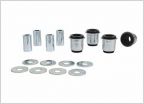 2002 sr5 lower control arm bushing replacement help please!
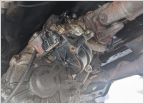 AWD actuator removal
 Transmission Fluid Pan Not Just Dropping Down
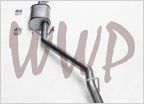 Exhaust replacement
Front end bushings? Wrapped it up yesterday.
Discussion in '1st Gen. Tacomas (1995-2004)' started by glwood6, Aug 30, 2021.
Page 3 of 6
Page 3 of 6


