

-
Welcome to Tacoma World!
You are currently viewing as a guest! To get full-access, you need to register for a FREE account.
As a registered member, you’ll be able to:- Participate in all Tacoma discussion topics
- Communicate privately with other Tacoma owners from around the world
- Post your own photos in our Members Gallery
- Access all special features of the site
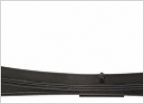 Finishing up OEM leaf spring replacement - stupid question
 Tools for Head Gasket Job
 Bed storage solutions...
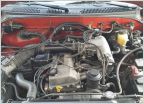 Chasing the 2200 rpm ping (2.7)
 Prinsu roof rack 1st gen
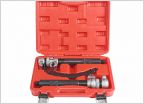 Bilstein 4600 install, CV reboot and diff seal replacement
Front output shaft leak
Discussion in '1st Gen. Tacomas (1995-2004)' started by Durango Bob, Oct 21, 2016.


