

-
Welcome to Tacoma World!
You are currently viewing as a guest! To get full-access, you need to register for a FREE account.
As a registered member, you’ll be able to:- Participate in all Tacoma discussion topics
- Communicate privately with other Tacoma owners from around the world
- Post your own photos in our Members Gallery
- Access all special features of the site
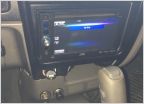 Backup camerA
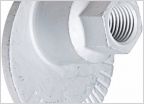 Cam Sleeve, Nut, and LCA Bolt OEM part numbers?
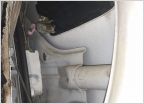 Outside door handle not working.
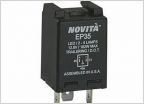 Going all LED lights
 Led replacement bulbs
 Cheap relatable upgrades
Front wheel bearing orientation
Discussion in '1st Gen. Tacomas (1995-2004)' started by Jas521, Sep 7, 2025 at 8:14 PM.


