

-
Welcome to Tacoma World!
You are currently viewing as a guest! To get full-access, you need to register for a FREE account.
As a registered member, you’ll be able to:- Participate in all Tacoma discussion topics
- Communicate privately with other Tacoma owners from around the world
- Post your own photos in our Members Gallery
- Access all special features of the site
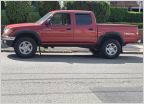 What's next? New 1st Gen Taco Owner
 LeAf spring
 Anyone running theTacoma PRO TRD BLACK GLOSS 16” rims?
 LED Headlight install - no high beams
 01 Tacoma regular cab
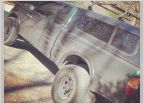 Replacement Wheel Advise
Front Wheel Bearing replacement - DIY using loaner kit
Discussion in '1st Gen. Tacomas (1995-2004)' started by Kristi with a K, Apr 10, 2021.


