

-
Welcome to Tacoma World!
You are currently viewing as a guest! To get full-access, you need to register for a FREE account.
As a registered member, you’ll be able to:- Participate in all Tacoma discussion topics
- Communicate privately with other Tacoma owners from around the world
- Post your own photos in our Members Gallery
- Access all special features of the site
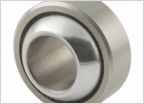 Bilstein 5100 bushing replacement
 Wheres my horn?
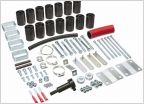 98 body lift
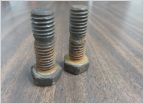 Zinc Plating OEM hardware
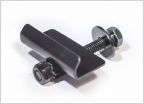 Used shell mounting
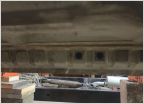 Cab holes
Headlight Filler Panel led turn signals & misc led dtrl's (bolt led's) [write-up]
Discussion in '1st Gen. Tacomas (1995-2004)' started by NightProwler, Oct 22, 2014.
Page 1 of 4
Page 1 of 4


