

-
Welcome to Tacoma World!
You are currently viewing as a guest! To get full-access, you need to register for a FREE account.
As a registered member, you’ll be able to:- Participate in all Tacoma discussion topics
- Communicate privately with other Tacoma owners from around the world
- Post your own photos in our Members Gallery
- Access all special features of the site
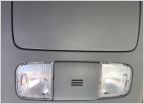 Adding Outside Temp
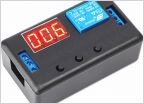 Switchable (not ACC) 12V Power to Bed
 Rear lift shocks
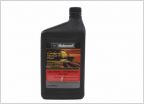 2005 5 spd R155 hard to get in gear
 Recommendations for best Synthetic Oils for 2014 6cyl?
 2nd Gen floormats for Manual trans
Help - Installing an Ipod-Interface Kit on my 2010 Taco
Discussion in '2nd Gen. Tacomas (2005-2015)' started by 4X42HEL, Jul 30, 2010.


