

-
Welcome to Tacoma World!
You are currently viewing as a guest! To get full-access, you need to register for a FREE account.
As a registered member, you’ll be able to:- Participate in all Tacoma discussion topics
- Communicate privately with other Tacoma owners from around the world
- Post your own photos in our Members Gallery
- Access all special features of the site
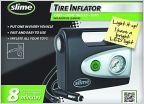 Best air compressor
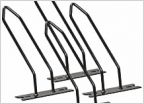 DIY standing bike rack
 Getting New Frame Installed, Por-15 Application?
 Can't access front U joint zerk
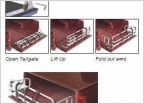 2011 to 2012 Bed Extender
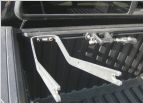 Bed cleat fork mount
HID Retro: FX-R Bi-Xenon with 4300k bulbs and Gatling Shrouds! COMPLETE!
Discussion in '2nd Gen. Tacomas (2005-2015)' started by ElectronMan, Nov 29, 2009.
Page 3 of 6
Page 3 of 6


