

-
Welcome to Tacoma World!
You are currently viewing as a guest! To get full-access, you need to register for a FREE account.
As a registered member, you’ll be able to:- Participate in all Tacoma discussion topics
- Communicate privately with other Tacoma owners from around the world
- Post your own photos in our Members Gallery
- Access all special features of the site
 3G Service: Filters and Treatments - Need Advice
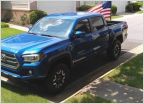 Flag Mounts
 Is Transmission Temp Check Mode Necessary?
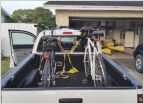 Recommend heavy duty bungee/tie down straps for bed cleats
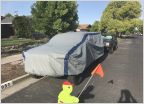 Covers for those who cannot garage? Suggestions!
 Utility Seat Covers / Easy On-and-Off
How much sound deadening and proofing material do I need?
Discussion in '3rd Gen. Tacomas (2016-2023)' started by QuicksandYoda, Apr 9, 2020.
Page 6 of 8
Page 6 of 8


