

-
Welcome to Tacoma World!
You are currently viewing as a guest! To get full-access, you need to register for a FREE account.
As a registered member, you’ll be able to:- Participate in all Tacoma discussion topics
- Communicate privately with other Tacoma owners from around the world
- Post your own photos in our Members Gallery
- Access all special features of the site
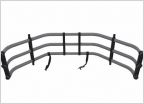 2013 Bed extender question
 How much magnetic paste on diff drain plug is 'normal'?
 NEED HELP ASAP PEASE RESPOND!
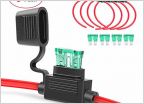 Is an inline fuse a must for tapping into accessory wire at radio?
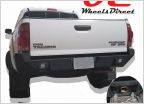 Rear Bumper Rotted Out
 Best quality grease and grease gun recommendations?
How the heck do I pin this connector?
Discussion in '2nd Gen. Tacomas (2005-2015)' started by Blaqkfox, Jun 7, 2025 at 5:30 PM.

