

-
Welcome to Tacoma World!
You are currently viewing as a guest! To get full-access, you need to register for a FREE account.
As a registered member, you’ll be able to:- Participate in all Tacoma discussion topics
- Communicate privately with other Tacoma owners from around the world
- Post your own photos in our Members Gallery
- Access all special features of the site
 Headlights
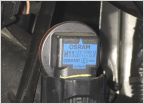
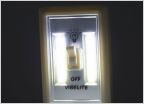 Easiest/cheapest solution to interior lights/topper lights (battery operated COB LEDs)
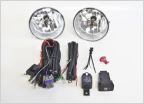 Help, wired up fog light kit but unable to get power to the lights
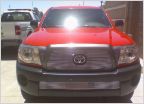 Any advice on Fog lamps?
 Camp Lighting?
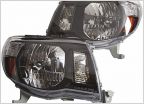 LED Headlight upgrades!
How To: Black Head Light mod
Discussion in 'Lighting' started by Viet2100, Dec 14, 2009.
Page 17 of 39
Page 17 of 39

